
Do you want to make a DIY silicon mold shaped using crayons? It's a great way to teach kids about science, plus they will have fun doing it. Whether you are a kid or adult, there is something delightfully appealing about being able to hold your favorite cartoon in hand. Well, now that is possible by making your very own molded version of it using crayons! It’s super easy and fun too!
Making silicon molds is a great way to create custom shaped soaps, candles, and more. There are many ways to do this. One of the easiest is by using crayons. In this article, we'll show you how to make your own silicone mold shaped with crayons.
Below are instructions on how to make your own DIY Silicon Mold Shapes using crayons.
MATERIALS NEEDED
- Crayons
- Silicon Mold of Your Choice (can be any shape or size as long as it's safe to use in an oven)
- Oven
- Cookie Sheet/Pan
- Scissors (optional)
STEP 1:
Prepare your silicon mold, make sure it's clean and it doesn't have any dirt on it.
On this tutorial, I am going to use this Mickey and Friends Head Shaped Silicon Mold that I purchased from Daiso, a Japanese store where everything is mostly cost $1.50 each.

STEP 2:
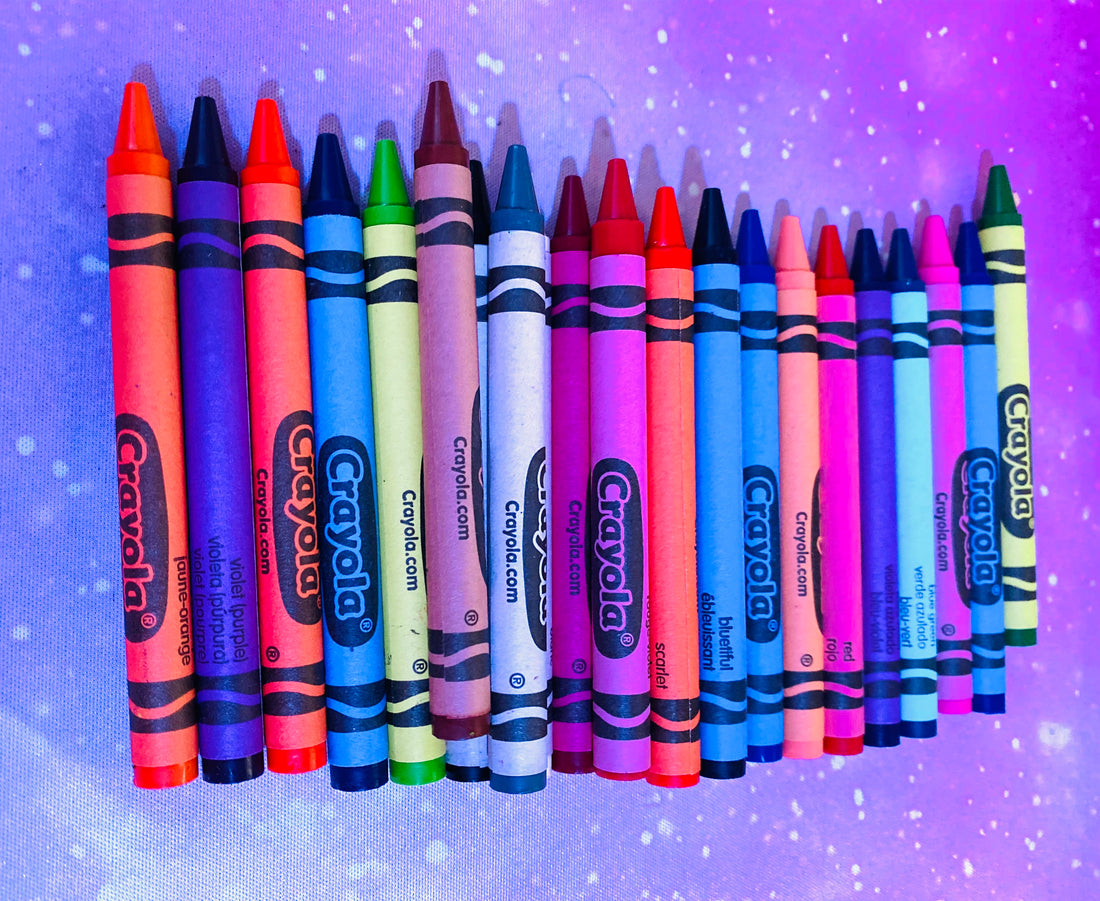
Find a box of crayons and break them apart to look like the picture below. Prepare the crayons by peeling off the paper that is wrapped around them.


STEP 3:
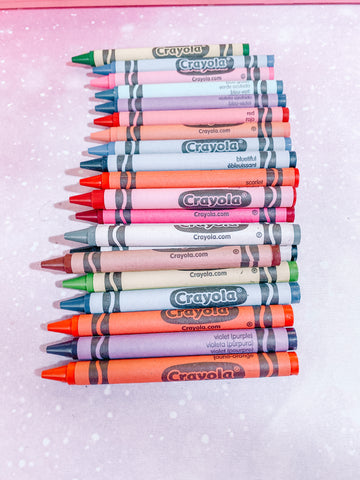
Once you're done peeling the paper wrappers, you should have something similar to the photo below:

STEP 4:
Cut the crayons into small pieces. You can do this by manually cutting them by hand or using a scissor if you have one available.

STEP 5:
Add a layer of crayon pieces over the silicon mold. You can either place the same color crayons or mix and match different colors.

STEP 6
Preheat your oven to 250 degrees.
STEP 7
Grab a cookie sheet or a cookie pan, place the silicon mold on top of it then place it inside the oven.
Leave it inside the oven for about 10-12 minutes. Depending on the type of oven you have, it may take longer for the crayons to melt but what's important is making sure that the crayons are completely melted. So I definitely recommend keeping an eye towards the end or setting an alarm so you don't forget.
STEP 8
Pull them out from the oven, put it aside and let it cool down.

STEP 9
Once it's ready, you can slowly remove the crayon from the mold one at a time.
If the crayons are not completely melted, they will break as you remove them from the mold.


