


The holidays are a time for giving and getting, but sometimes the costs can get to be too much. What if you could make your homemade decorations at home to avoid spending a lot of money? With just a few supplies from the craft store, you can make these pretty glitter ornaments at home.
Making your own ornaments will save you money and is a great way to spend some quality time with your family during the holiday season!
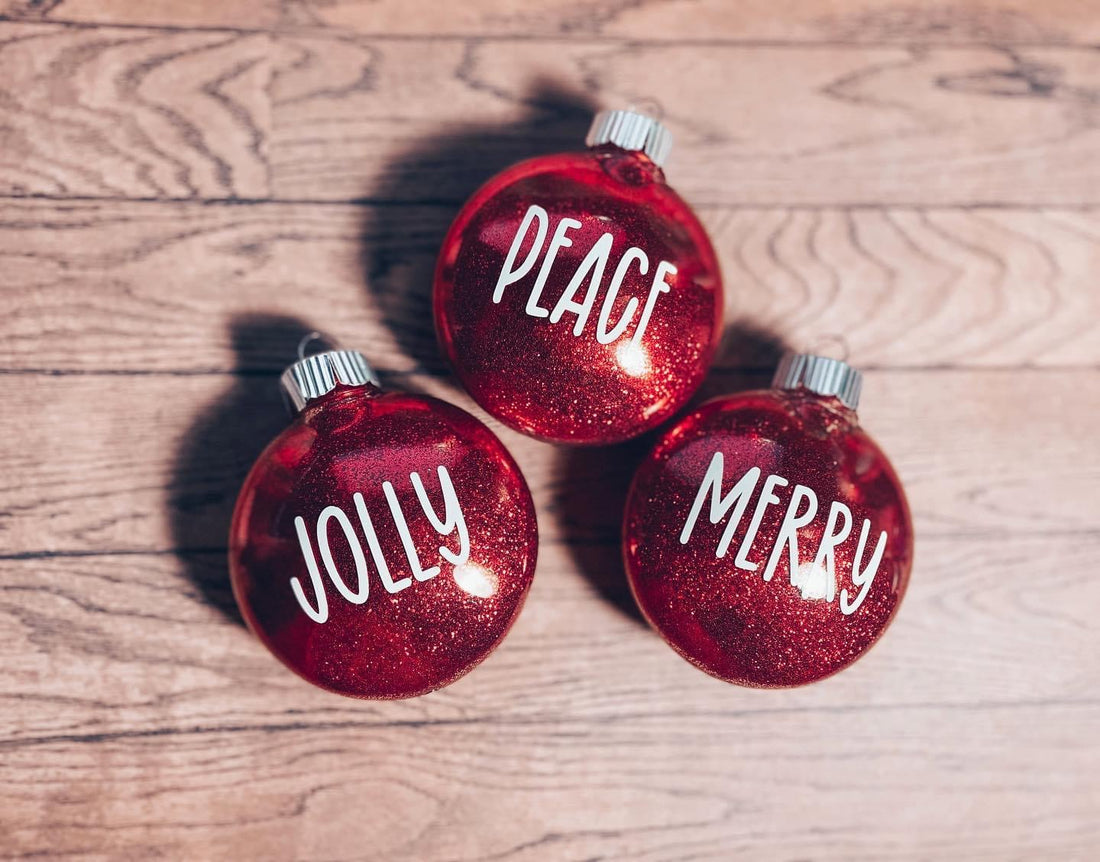
We all know that the holiday season is always a time for family and friends to come together and celebrate the season. This year, we’ve decided to make our own glittered ornaments! There are many reasons why this project is worth doing: it’s inexpensive, easy to do, and makes your home feel more festive. You can even use different colors of glitter to represent the different members of your family!
Glittery ornaments are the perfect ornament for Christmas. They help to make your tree sparkle, and they can be personalized with your own family’s name.
This guide will show you how to make your own glitter ornaments at home, using inexpensive supplies that you can find at any craft store. The steps are simple, and if you follow them closely, you’ll end up with beautiful ornaments that only cost a few dollars each!
Here, are some steps on how to make these ornaments at home for you and your loved ones.
As part of the Amazon Associate program, we may earn from qualifying purchases made through the links below
MATERIALS
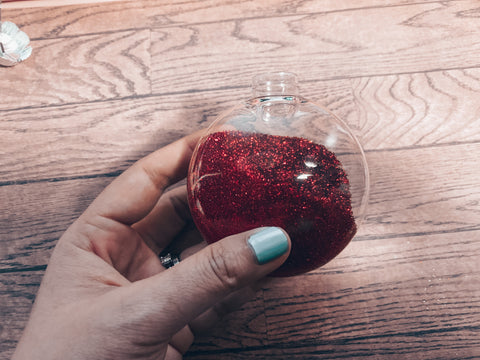
STEP 1
Grab the clear ornament and remove the cap


Also, in case you've never used Mop n Glo in the past, this liquid is a bit sticky if you accidentally spill some on your hand. I make sure to have some wet wipes on the side just in case.


If you don't have a cutting machine such as a Cricut or Cameo Silhouette, other options are handwriting them using acrylic paint pens or purchasing sticker letters.


And that is it our friends! We hope that you guys have an awesome holiday with you and your family & friends and we also hope that this tutorial helped with your DIY Holiday activity!
